Creating a send connector for ZIX in Office 365
Go to the Exchange Admin Console
Step 1
Click on Connectors and select the + sign and make the following selections in the drop downs
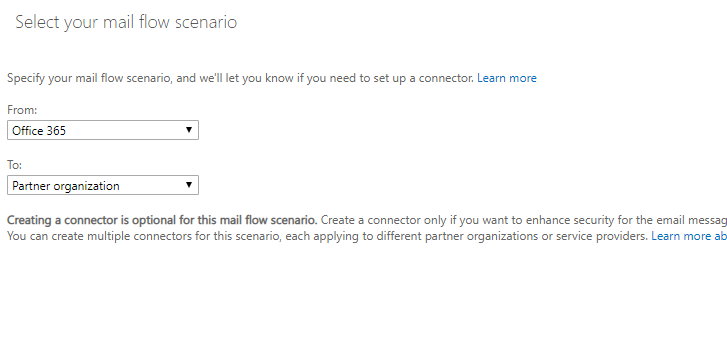
fig 1
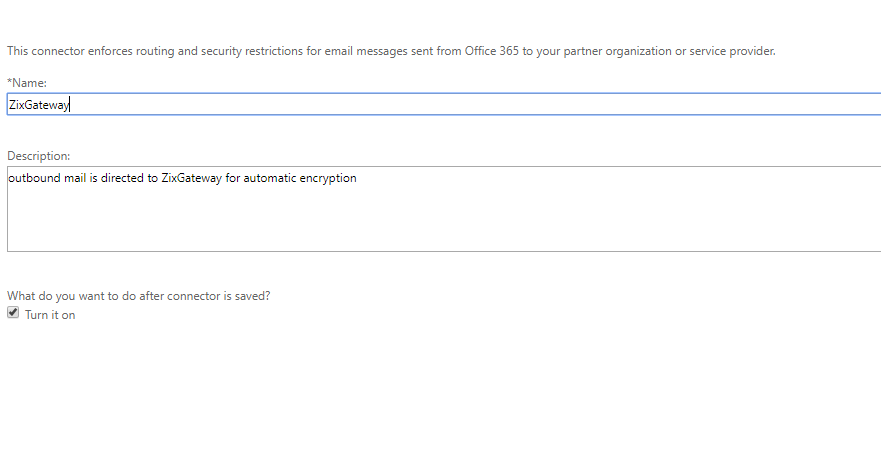
Give the connector a name such as ZixGateway and enter a description
On the next screen check Only when I have a transport rule
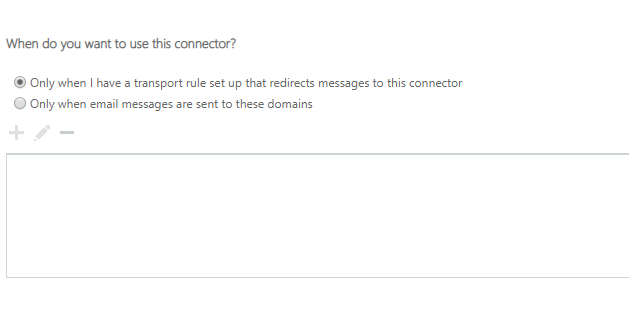
fig 3
In the next diagram add the URLs given to you by your Zix deployment specialist. You should hit the + sign and add each URL
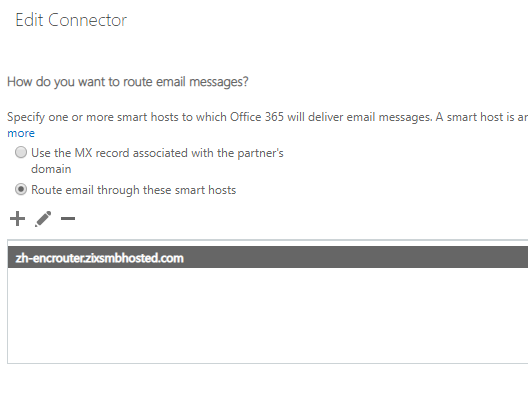
**IMPORTANT** You need to substitute the URL given to you by your deployment specialist below
Example: domain.com
• domain-com.relay1a.smtp25.com
• domain-com.relay1b.smtp25.com
• domain-com.relay1c.smtp25.com

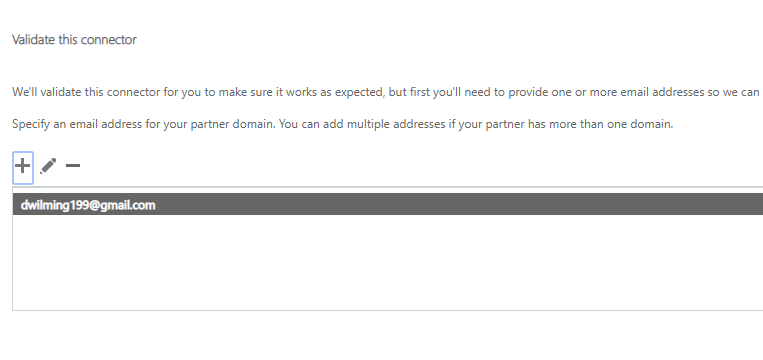
Lastly validate the connector using an email not in the domain you are setting up the connector for
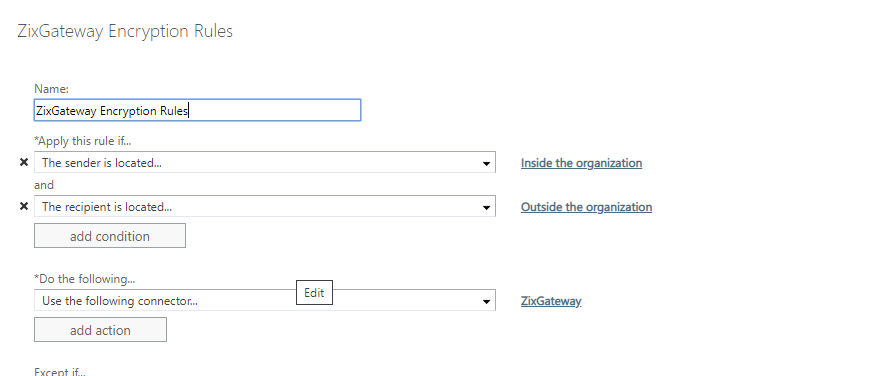
STEP 2. CREATE THE TRANSPORT RULE
Give the rule a name such as ZIX Encryption
Important* Click the link to expand More Options
Select the following properties of the rule as pictured and the SAVE
Exchange is now configure to route outbound email to the ZIX service. Wait 20 minutes and then test by sending an email from that domain to orders@nimbus-logic.com
We will examine the message headers and ensure traffic is flowing to the Zix Gateway
Please note you can use the transport rules to exclude certain domains and users from either receiving or sending encrypted email.